You are using an out of date browser. It may not display this or other websites correctly.
You should upgrade or use an alternative browser.
You should upgrade or use an alternative browser.
NFG with VCT new install best way to finish/ wax
- Thread starter MtPockets
- Start date
Cleanworks
Moderator
- Joined
- Oct 22, 2012
- Messages
- 28,154
- Name
- Ron Marriott
Both are good. Go with the one that offers more accessories.I believe she'll do $150 as Im not sure of situation. But is the Tornado the better of the 2?
Kenny Hayes
Member
- Joined
- Apr 17, 2009
- Messages
- 9,858
- Name
- Kenny Hayes
Again, I say yah.
Hey All,
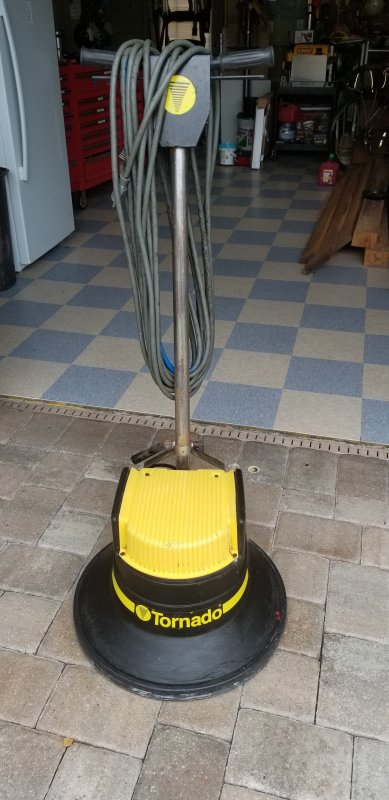
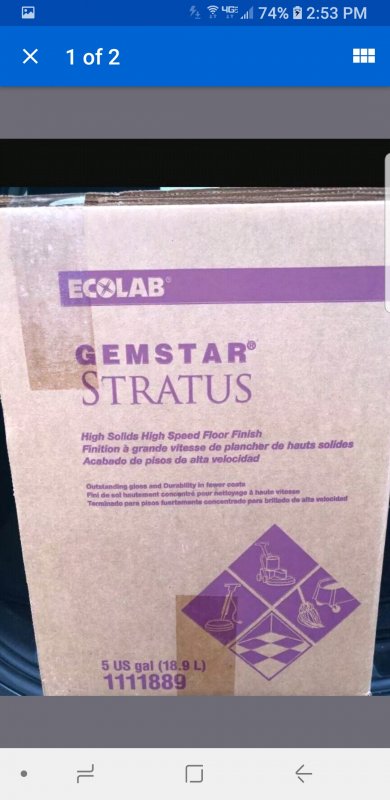
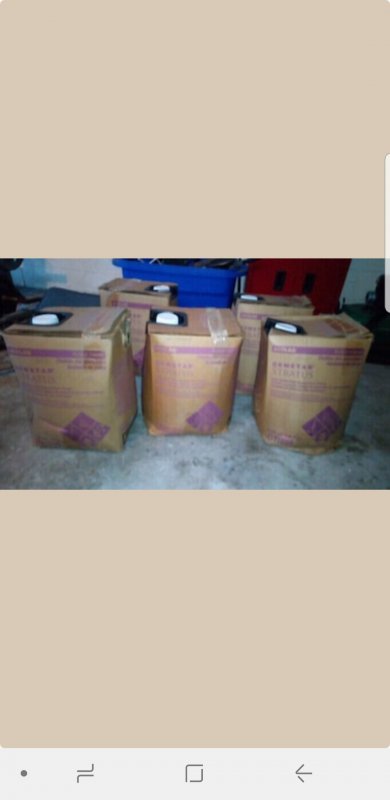
I was finally able to contact the guy with the Tornado and picked it up just now. I now have come across another person that has 5 5Gal containers of GEMSTAR Stratus. He said he's " looking to get" $80 for the lot of 5.
Is this what I want to apply? or should I skip it an go with whatever the Supply place carries.
Attachments
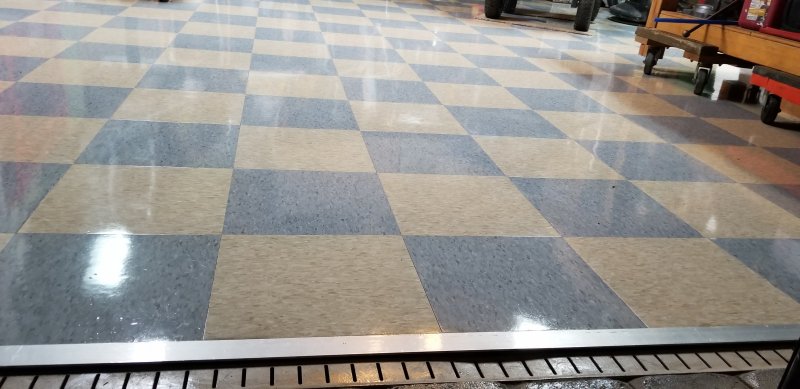
You'll notice that I haven't finished of the front edge of the VCT yet, Because my paver guys weren't paying attention to the pictures that I gave them as to the type of drainage system I wanted. I'm going to replace the cheap plastic one thats there and upgrade it to a larger one, so that it an be properly cleaned when need be
Attachments
Lee Stockwell
FOJL
- Joined
- Oct 7, 2006
- Messages
- 18,851
- Name
- Lee Stockwell
That particular floor finish is very good stuff.
Small town janitorial
Member
- Joined
- Feb 23, 2017
- Messages
- 1,040
- Name
- Matt Ross
You dont need all that floor finish. Look at the manufacturer r as ting of sq footage for the wax.
Dolly Llama
Number 5
- Joined
- Oct 7, 2006
- Messages
- 31,225
- Name
- Larry Capitoni
has 5 5Gal containers of GEMSTAR Stratus. He said he's " looking to get" $80 for the lot of 5.
what facility did he steal it from?
Has it froze?
and to the guys that know ....is there a shelf life on finish?
If it's been sitting 5 years, is it still fine?
.L.T.A.
I saw that some people were selling old stock @ $80 for a 5gal. Container, i was figuring wth maybe pick it up an use what i need, and pass the rest off, recoup my investment and move on.
Lee Stockwell
FOJL
- Joined
- Oct 7, 2006
- Messages
- 18,851
- Name
- Lee Stockwell
Keep it. Some previous bean-counter probably ordered that much to get a quantity discount. If you do much work at all you will use it rather quickly.
dealtimeman
Everyday is Saturday.
- Joined
- Sep 20, 2008
- Messages
- 10,878
- Name
- Michael
Thanks everyone, nice tip Andy.
Being that I haven't yet decided yet if I'm going to use a rubber cove base, would it be a good idea to squeeze a bead of silicone around the perimeter?
View attachment 86448
I would cut at least a half inch of that sheet rock off all the way around. Before installing the cove base.
Trust me. Your welcome.
dealtimeman
Everyday is Saturday.
- Joined
- Sep 20, 2008
- Messages
- 10,878
- Name
- Michael
If this is your place then do it right.
Allow floor to completely dry before wetting.
Use a light alkaline (diluted floor stripper works well) to degrease and clean floor with swing machine.
Get some floor scrapers to scrape off the glue.
Rinse the floor until the mop water comes out clear with very minimal haze in the water.
Final mop rinse with a light acid,light white vinegar/water Works well.
Use air movers to ensure the floor is completely dry before refinishing.
No matter how clean and dust free you might think The floor is, after mopping several times, it’s not. So you will need to dust mop the floor with a new or washed dust mop.
Order some sealed air diversey fortify floor sealer. Apply at least 2 coats and let dry for at least 2 hours.
Use almost any floor finish to build protection/shine and slip resistance (which is why floor finish was originally designed) apply 2-4 coats using a scale system by marking he floor with different color markers on each coat thus having a visual reminded gauge of how much finish is still on The floor and when it is Time to refinish.
2 days after completeion of finishing you will want to use a ultra high speed burnished and burnish the floor.
EVery 30 days or so mop the floor and clean with neutral cleaner, grab a sprayer with water in it and lightly spray floor and burnish with a hog hair pad for a like new shine(renewed slip resistance) every time.
Last edited:
Thank you Sir,
The walls in my garage/ shop are block "Concrete" so no worries about any water leeching up the walls, But, good looking out. I appreciate it, as many people dont take that into consideration, even the drywall hangers. as I've ran commercial framing and hanging crews for 20 + years and get pissed hen they guys don't set the walls 5/8" of the floors.
Thanks for helping out, I sure do appreciate all the advice i'm getting
Kenny Hayes
Member
- Joined
- Apr 17, 2009
- Messages
- 9,858
- Name
- Kenny Hayes
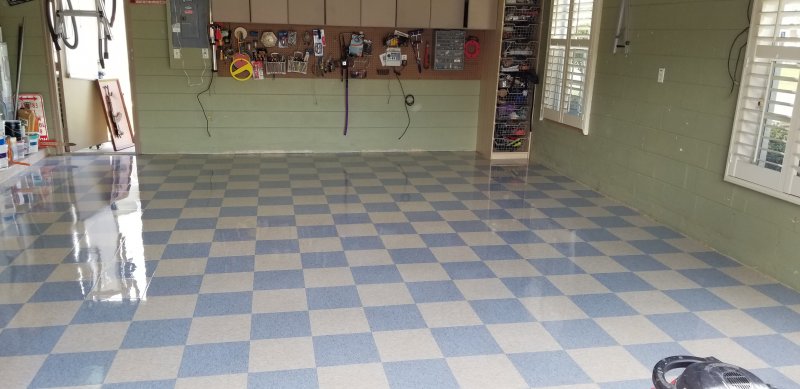
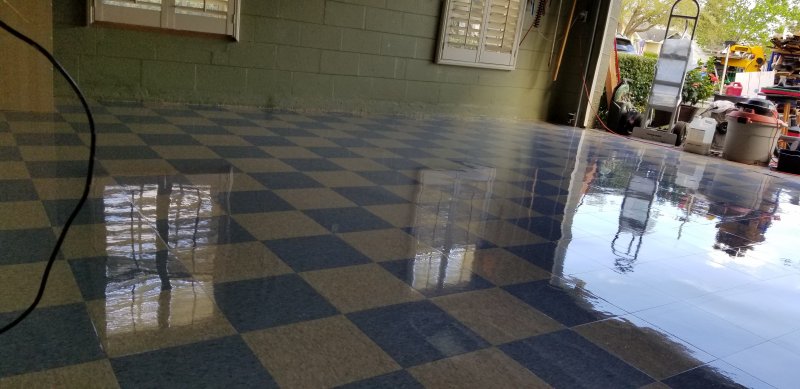
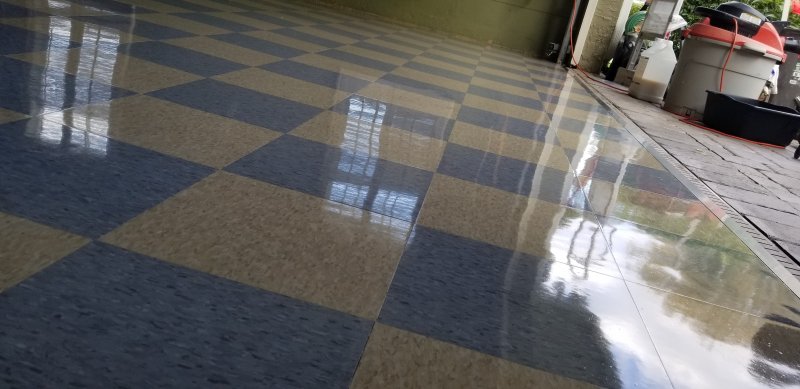
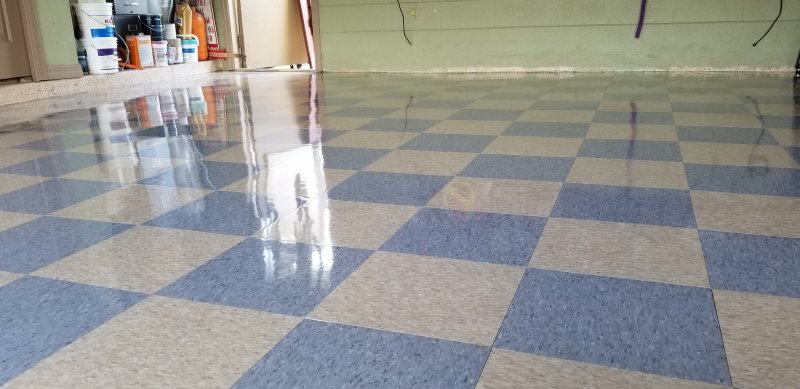
Looks good. Now, to just see how it wears.
Old Coastie
Supportive Member
- Joined
- Jun 29, 2015
- Messages
- 7,504
- Name
- Stephen
Looks great, Dino
Andy
Member
- Joined
- Feb 5, 2016
- Messages
- 967
- Name
- Doesn't Matter
I do what I call "2 past awesome" which equals six coats of finish, here is why. The first 2 coats of finish you apply are to protect the tile, that is the main purpose of putting finish on VCT. Coats 3 and 4 will give you an awesome shine like your floor looks. Coats 5 and 6 are applied to protect your awesome shine, thus "2 past awesome"
Andy,
I really wanted to, however i was fighting potential rain and daylight, then having to bring everything back inside again.
Question:
Can i apply additional coats, by moving half shit to one side and then coating, then after it dries, do other side?
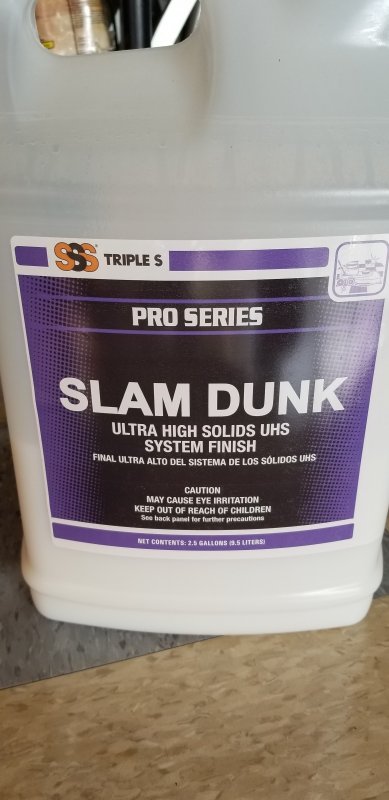
This is the finish i ended up picking up from my local supply house

J Scott W
Member
- Joined
- Oct 16, 2006
- Messages
- 4,061
- Name
- Jeffrey Scott Warrington
Andy,
I really wanted to, however i was fighting potential rain and daylight, then having to bring everything back inside again.
Question:
Can i apply additional coats, by moving half shit to one side and then coating, then after it dries, do other side?
This is the finish i ended up picking up from my local supply house
View attachment 89453
You will have a line where the two halves meet. To to make the line fall between tiles rather than in the middle of one tile, and you will have a pretty good result. Maybe some painters tape to make the line straight.
Nomad74
Boy Sprout
- Joined
- Feb 4, 2016
- Messages
- 24,126
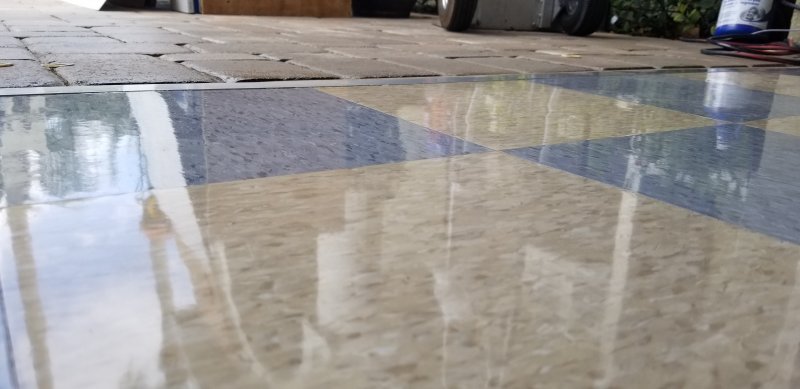
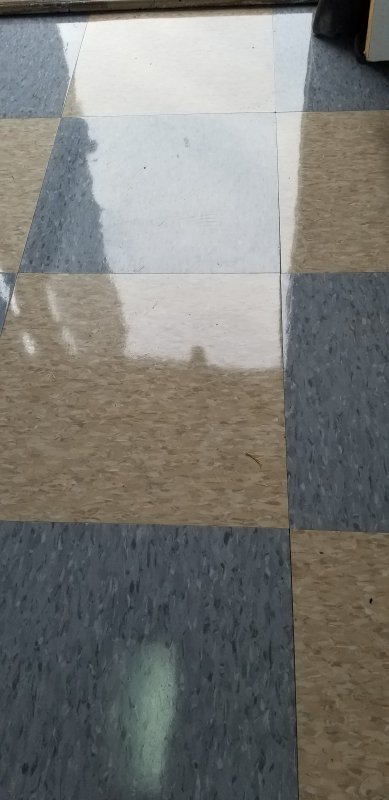
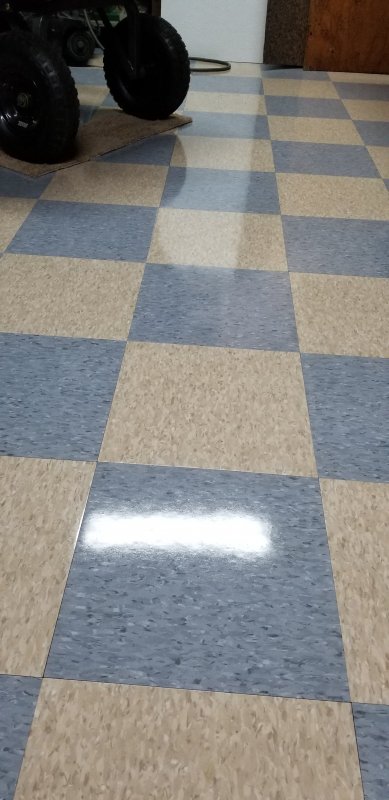
I'd eat a Baconator off that floor. Good work!
Lmao Nomad TY, Thats a booster for sure..
I thought for sure i was gonna eat off of it myself, after all the time it took from start to final finish and putting everything back. Some people werent as happy on a Saturday..
It just never seems to amaze as to not having flying bugs until your applying finish to something..
I I I did have some tweezers handy for between every coat.
Jimmy L
Member
- Joined
- Oct 7, 2006
- Messages
- 15,251
- Name
- Jimmy L
While it looks good I have to question if it's really worth the effort to have to maintain it. Over time in a garage expect deep scratches and wear and it will be ugly in no time.
Thanks Jimmy, lmao... i think I'll hold onto the buffer now i suppose
I dont have a lot of traffic, just about everything is on wheels,
Tablesaw, jointer, planer, tool chest, bandsaw, soon to have 900# workbench on wheels too once i complete it..
Also, made sure to keep a box of each tile for those times..
Andy,
You were right on the money with saying that the Pneumatic tires will leave Yellowish/ brown stains.. I had that happen with a 4 wheel cart, however only the cart and not anything thing else which is weird prior to finishing, but i replaced them... i talked to the saleshole and was told that i shouldn't experience that after the finish is applied.... i do have that cart resting on a cpl scrap pieces of carpet at moment, until my shed arrives
Kenny Hayes
Member
- Joined
- Apr 17, 2009
- Messages
- 9,858
- Name
- Kenny Hayes
But if it does start to look ugly, you can scrub and top coat and make it look good again. You can do that a couple of times. Then, you can do it over again with ease since you didn’t put 6 coats down. Carry on

